Do you want to effortlessly host multiple domains? Look no further! In this exciting YouTube video titled “Effortless Domain Hosting with GoDaddy: Unlocking the Power of Multiple Domains!”, we will guide you through the step-by-step process of setting up your domain hosting using GoDaddy. From downloading WordPress to uploading files and managing your domains, we’ve got you covered. Get ready to unlock the power of multiple domains with ease. Let’s dive in and make your domain hosting journey a breeze!
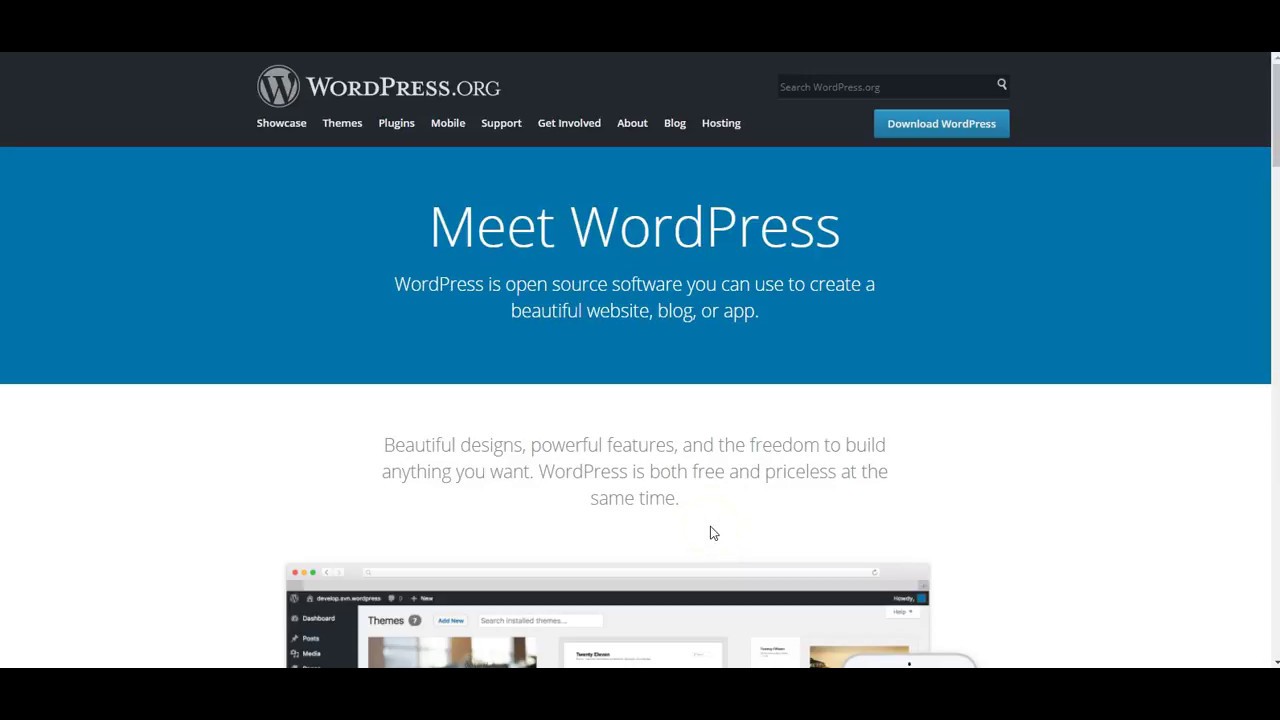
Downloading and Uploading WordPress: A Step-by-Step Guide – To begin, head over to wordpress.org and click on the “Download WordPress” button. This will initiate the download of a zip file. Once the download is complete, go to your GoDaddy hosting account and navigate to the file manager section. Click on “Files” and then ”File Manager”. From there, click on “public_html” under the tree on the left side and locate the folder for your website. Next, click on “Upload” at the top and choose the WordPress file you just downloaded. The file will begin uploading, displaying a progress bar at the bottom. This process may take a few minutes. Once the upload is complete, click on “Go back to home”. You’ll now see the uploaded file in the file manager. Select it and click on “Delete” to remove the unnecessary file. Then, highlight the uploaded file, right-click, and choose “Extract” to extract all the WordPress files. After the extraction is complete, you can delete the remaining file by placing it in the trash. Finally, double-click on the extracted folder, select all the files, and move them to the top level by clicking on “Move”. Delete the “WordPress” folder and make sure that only your domain is shown. Click on “Move files” to finalize the process. This will successfully move all the files to your domain.
Navigating the File Manager: Managing Your Website Files on GoDaddy - In order to manage your website files on GoDaddy, you can utilize the file manager feature. After logging into your GoDaddy hosting account, scroll down and click on “Files”, followed by “File Manager”. This will open up the file manager interface. To navigate through the file manager, locate the “public_html” folder and click on it. This folder usually contains all the website files. You can explore this folder and its subfolders to find the specific files you want to work with. You can also create new folders, rename files/folders, edit files, and perform various file management tasks using the file manager interface.

Extracting and Organizing WordPress Files: Streamlining Your Domain Hosting – Once you have uploaded the WordPress file to the appropriate folder in your GoDaddy file manager, you need to extract and organize the files. To do this, double-click on the folder that contains the uploaded file. Inside this folder, select the file and right-click on it to access the options. Choose “Extract” and then click on “Extract Files” to initiate the extraction process. This will unpack all the WordPress files from the compressed file. After the extraction is complete, you can click on “Close”. At this point, you can delete the original compressed file (if it is still present) by moving it to the trash. Then, double-click on the extracted folder to open it. To organize the files, click on the top file and drag it down until all the files are highlighted. With all the files selected, click on the “Move” button and delete the word “WordPress” from the destination path, leaving only your domain. Click on “Move Files” to finalize the organization process, ensuring that all the WordPress files are now streamlined within your domain hosting.
Cleaning Up and Finalizing: Ensuring a Smooth Domain Experience - To ensure a clean domain experience, it is important to perform some final steps. After moving and organizing the WordPress files, you can delete any remaining unnecessary files or folders. If there are any leftover files in the file manager, simply place them in the trash. Additionally, make sure to open the extracted folder and select all the files within it. Drag them to the top level, ensuring they are no longer within any subfolders. Delete the now-empty extracted folder from your file manager. By completing these cleanup tasks, you will have successfully finalized the process and can now proceed with setting up and customizing your WordPress website.
Q&A

Q: What is the topic of the YouTube video?
A: The video is about effortless domain hosting with GoDaddy and how to unlock the power of multiple domains.
Q: What is the process discussed in the video?
A: The video discusses the process of downloading WordPress from wordpress.org and then uploading it to your GoDaddy hosting account. It also covers extracting the WordPress files, deleting unnecessary files, and moving the remaining files to the correct location.

Q: What do you need to do first before downloading WordPress?
A: First, you need to set up your database.
Q: Where can you download WordPress?
A: You can download WordPress from wordpress.org.
Q: How do you upload WordPress to your GoDaddy hosting account?
A: After downloading WordPress, you need to go to your GoDaddy hosting account, scroll down to “files,” and click on “file manager.” From there, you can upload the WordPress file to the specific folder of your website.
Q: What should you do after the WordPress file finishes uploading?
A: You can click on “go back to the home” and then delete the unnecessary files.
Q: How do you extract the WordPress files?
A: To extract the WordPress files, you need to highlight the file and right-click, then select “extract” and “extract files.”
Q: Can you delete the downloaded WordPress file after extracting?
A: Yes, you can delete the downloaded WordPress file.
Q: What do you need to do after extracting the files?
A: After extracting the files, you need to click on the folder, select all the files inside, and move them to the bottom of the file manager. Then, delete the “WordPress” part in the path.
Q: What is the purpose of moving the files?
A: Moving the files ensures that they are in the correct location for your domain.
Q: What should the final path show after moving the files?
A: The final path should show your domain name followed by a forward slash (/).
Q: Is the video available for further instruction?
A: No, unfortunately, the transcript does not provide further instructions beyond this point.
Final Thoughts
files to the root directory of your domain. This step is essential for setting up your WordPress website.
Now that you have successfully uploaded and extracted the WordPress files, you are one step closer to unlocking the power of multiple domains with GoDaddy. With effortless domain hosting, you can easily manage multiple websites under one hosting account.
By following the simple steps outlined in the YouTube video, you have learned how to download WordPress from wordpress.org, upload it to your GoDaddy hosting account, and extract the necessary files. This process ensures that your website is up and running smoothly.
With GoDaddy as your domain hosting provider, you can take full advantage of the countless features and benefits they offer. From reliable hosting services to top-notch customer support, GoDaddy has everything you need to create a successful online presence.
So, whether you are a seasoned web developer or just starting your online journey, GoDaddy’s effortless domain hosting allows you to unlock the power of multiple domains, giving you the flexibility and control you need.
Now, it’s time to unleash your creativity and start building your WordPress website. With GoDaddy by your side, the possibilities are endless. Don’t let anything hold you back from creating the online presence you’ve always dreamed of.
Remember to stay tuned for more exciting tutorials and tips on domain hosting, brought to you by GoDaddy. Thank you for watching this informative YouTube video, and we look forward to supporting you throughout your website creation journey.